
Taking screenshots on your HP laptop is a handy skill that can assist you in a myriad of tasks, from capturing important information to sharing snippets of your screen with others. In this detailed guide, we will explore various methods to take screenshots on HP laptops, covering different operating systems, tools, and techniques. By the end of this article, you’ll be well-equipped with all the knowledge you need to effortlessly capture your screen in multiple ways.
Why Take Screenshots?
Screenshots serve multiple purposes and are useful in various scenarios:
- Documentation: Capture error messages or system states for troubleshooting and support.
- Sharing Information: Easily share what you see on your screen with others.
- Education and Tutorials: Create visual aids for teaching or tutorial purposes.
- Record Keeping: Save copies of web pages, images, and other important information.
Understanding the different methods to take screenshots can enhance your productivity and help you communicate more effectively.
Basic Methods to Take Screenshots
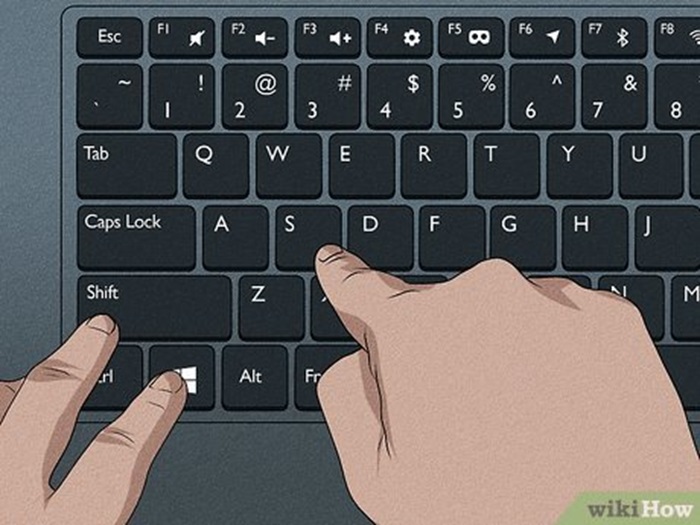
Using Print Screen (PrtScn) Key
The Print Screen key is one of the simplest and most common ways to take a screenshot on an HP laptop.
Steps:
- Locate the Print Screen Key:
- Usually labeled as
PrtScn,PrntScrn, orPrint Scr, often found in the top row of your keyboard.
- Usually labeled as
- Capture the Entire Screen:
- Press the
PrtScnkey. This captures the entire screen and copies it to the clipboard.
- Press the
- Paste the Screenshot:
- Open an image editing tool like Paint or a document editing tool like Microsoft Word.
- Press
Ctrl + Vto paste the screenshot.
- Save the Screenshot:
- Save the file in your preferred format (PNG, JPEG, etc.).
Using Windows Snipping Tool
The Snipping Tool is a built-in Windows utility that allows you to capture specific areas of your screen.
Steps:
- Open the Snipping Tool:
- Search for “Snipping Tool” in the Start menu.
- Select the Snip Type:
- Click on the “New” button and choose the type of snip (Free-form, Rectangular, Window, or Full-screen).
- Capture the Area:
- Drag the cursor to capture the desired area of the screen.
- Edit and Save:
- Use the editing tools if needed and save the screenshot.
Using Snip & Sketch Tool
Snip & Sketch is a newer tool in Windows 10 and 11, offering more advanced features than the Snipping Tool.
Steps:
- Open Snip & Sketch:
- Search for “Snip & Sketch” in the Start menu or use the shortcut
Windows Key + Shift + S.
- Search for “Snip & Sketch” in the Start menu or use the shortcut
- Select Snip Type:
- Choose from Rectangular Snip, Freeform Snip, Window Snip, or Full-screen Snip.
- Capture and Edit:
- Select the area to capture, then use the editing tools to annotate the screenshot.
- Save the Screenshot:
- Save the edited screenshot in the desired format.
Advanced Screenshot Techniques
Using Third-Party Screenshot Tools
Third-party tools can offer enhanced functionality, such as advanced editing, cloud storage, and collaboration features.
Popular Tools:
- Lightshot:
- Easy-to-use, allows for quick editing and sharing.
- Offers cloud storage for screenshots.
- Greenshot:
- Open-source, feature-rich tool.
- Integrates with various applications for seamless workflow.
- Snagit:
- Comprehensive screenshot tool with advanced editing features.
- Suitable for professional use, including creating tutorials and presentations.
Using Keyboard Shortcuts
Keyboard shortcuts can speed up the screenshot process and improve efficiency.
Common Shortcuts:
- Windows + PrtScn:
- Captures the entire screen and saves it to the Pictures > Screenshots folder.
- Alt + PrtScn:
- Captures the active window and copies it to the clipboard.
- Windows Key + Shift + S:
- Opens the Snip & Sketch tool for more versatile capturing options.
Screenshots on Different Operating Systems
Taking Screenshots on Windows 10
Windows 10 provides several built-in options for taking screenshots.
Methods:
- Print Screen Key:
- As described above, using
PrtScnto capture and paste screenshots.
- As described above, using
- Snipping Tool:
- Available in all versions of Windows 10.
- Snip & Sketch:
- Enhanced features for annotating and sharing screenshots.
Taking Screenshots on Windows 11
Windows 11 continues to offer robust screenshot capabilities with some improvements.
Methods:
- Snip & Sketch:
- Primary tool for taking and editing screenshots.
- Print Screen Key:
- Functionality remains similar to Windows 10.
- Game Bar:
- Press
Windows Key + Gto open the Game Bar and use the capture feature for screenshots.
- Press
Taking Screenshots on Linux
Linux distributions offer various tools for taking screenshots, depending on the desktop environment.
Methods:
- GNOME Screenshot:
- Default tool in GNOME desktop environments.
- Access via the menu or by pressing
PrtScn.
- KSnapshot / Spectacle:
- Default tool in KDE environments.
- Offers multiple capture modes and editing features.
- Command Line Tools:
- Tools like
scrotandimportfor capturing screenshots via the terminal.
- Tools like
Editing and Annotating Screenshots
Editing and annotating screenshots can make them more informative and useful.
Tools and Techniques:
- Built-in Tools:
- Snip & Sketch and Snipping Tool offer basic editing features like cropping, highlighting, and drawing.
- Third-Party Tools:
- Snagit and Greenshot provide advanced editing options such as adding text, arrows, and shapes.
- Use dedicated image editing software like GIMP or Photoshop for professional editing.
- Online Editors:
- Services like Pixlr and Canva offer online editing capabilities with various templates and tools.
Troubleshooting Common Issues
Sometimes, taking screenshots might not work as expected. Here are some common issues and solutions:
- Print Screen Key Not Working:
- Check if the key is disabled or reassigned.
- Try using
Fn + PrtScnorAlt + PrtScn.
- Screenshots Not Saving:
- Ensure there is enough storage space.
- Verify the save location and permissions.
- Third-Party Tool Issues:
- Update the software to the latest version.
- Check for compatibility with your operating system.
- Image Quality Problems:
- Ensure the resolution settings are correct.
- Use lossless formats like PNG for better quality.
Capturing screenshots on an HP laptop can be straightforward or advanced, depending on your needs. Whether you’re using built-in tools like Print Screen, Snipping Tool, and Snip & Sketch, or leveraging third-party applications for more functionality, understanding these methods will significantly enhance your ability to communicate visually. Additionally, knowing how to troubleshoot common issues and edit your screenshots will ensure you can always capture and present your screen content effectively.